Understanding Electrical Outlets and Switches
Electrical Outlets: Electrical outlets, also known as receptacles, are sockets that provide a connection point for electrical devices to access power. They come in various types, including standard outlets, GFCI (Ground Fault Circuit Interrupter) outlets, and AFCI (Arc Fault Circuit Interrupter) outlets, each serving specific safety purposes.
Switches: Switches control the flow of electricity to lighting fixtures and other devices. Common types include single-pole switches, three-way switches, and dimmer switches, each offering different levels of control and functionality.
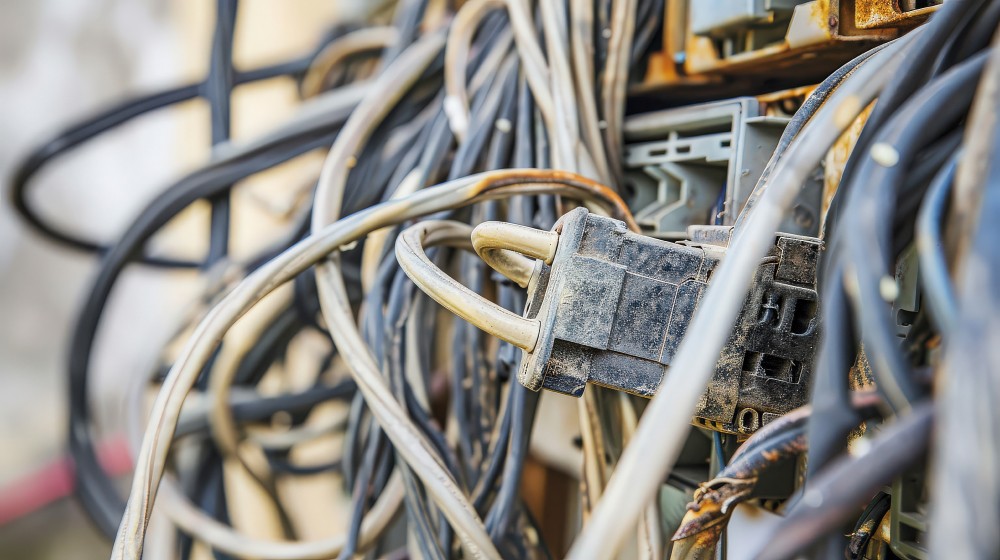
Safety Precautions Before You Begin
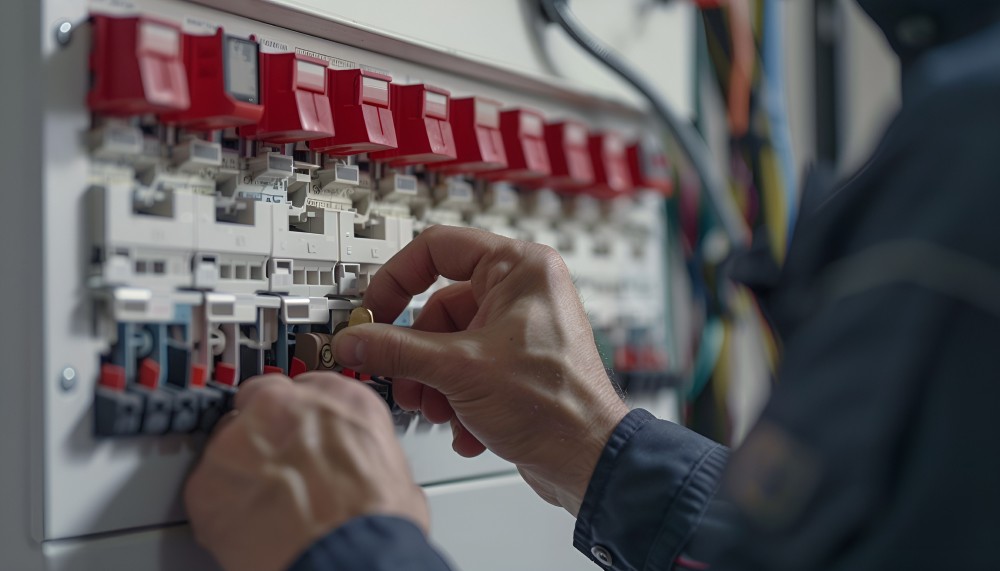
- Turn Off Power: Always turn off the power at the circuit breaker or fuse box before working on any electrical project. Use a voltage tester to confirm that the power is off.
- Use Proper Tools: Ensure you have the correct tools for the job, including a screwdriver, wire stripper, pliers, and a voltage tester.
- Wear Safety Gear: Wear insulated gloves and safety goggles to protect yourself from electrical shocks and debris.
- Understand Electrical Codes: Familiarize yourself with local electrical codes and regulations to ensure your work meets safety standards.
Installing Electrical Outlets
Choosing the Right Outlet:
- Standard Outlets: Suitable for general use in most rooms.
- GFCI Outlets: Required in areas where water is present, such as kitchens, bathrooms, and outdoor locations.
- AFCI Outlets: Recommended for bedrooms and living areas to prevent arc faults.
Tools and Materials Needed:
- Electrical outlet
- Screwdriver
- Wire stripper
- Voltage tester
- Electrical tape
- Wire nuts
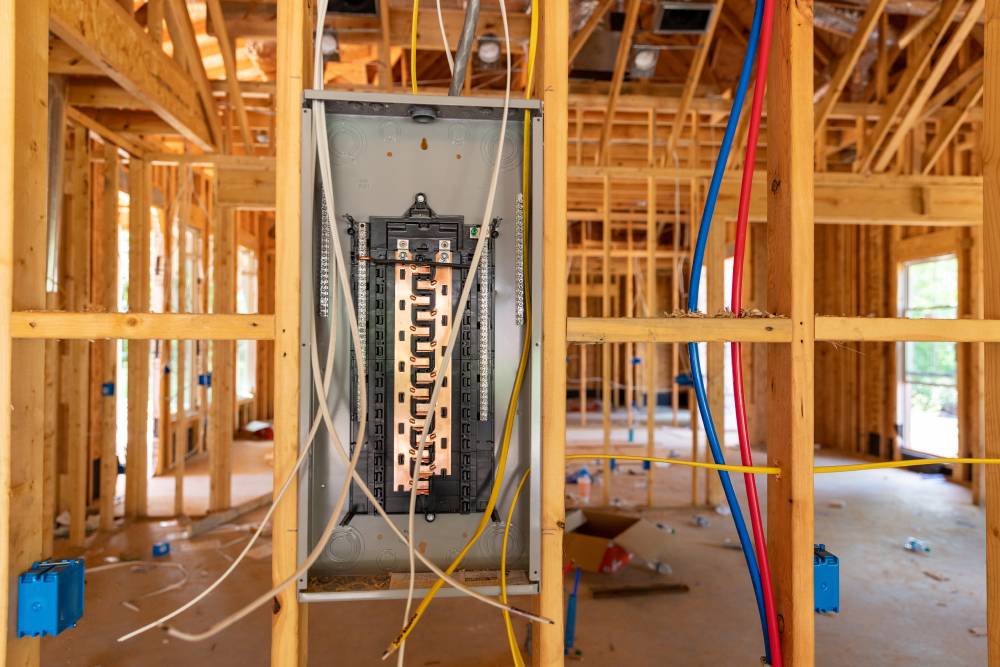
- Electrical box (if installing a new outlet)
Join HICP Homeowner’s Alliance
Connect with experts, get special discounts and enjoy member benefits
Step-by-Step Installation:
- Turn Off Power: Locate the circuit breaker or fuse controlling the outlet’s circuit and turn it off. Use a voltage tester to ensure the power is off at the outlet.
- Remove the Old Outlet (if applicable): Unscrew the cover plate and remove it. Unscrew the outlet from the electrical box and pull it out. Disconnect the wires from the outlet by loosening the terminal screws.
- Prepare the Wires: If you are installing a new outlet, ensure the electrical box is securely mounted. Strip about 1/2 inch of insulation from the ends of the wires using a wire stripper.
- Connect the New Outlet: Connect the black (hot) wire to the brass terminal, the white (neutral) wire to the silver terminal, and the green or bare (ground) wire to the green terminal. Ensure the connections are tight and secure.
- Install the Outlet: Carefully push the wires back into the electrical box. Screw the outlet into place. Attach the cover plate and screw it in securely.
- Restore Power and Test: Turn the power back on at the circuit breaker or fuse box. Use a voltage tester or plug in a device to ensure the outlet is working correctly.
Installing Electrical Switches
Choosing the Right Switch:
- Single-Pole Switch: Controls one light or fixture from a single location.
- Three-Way Switch: Controls a light or fixture from two different locations.
- Dimmer Switch: Allows you to adjust the brightness of a light.
Tools and Materials Needed:
- Electrical switch
- Screwdriver
- Wire stripper
- Voltage tester
- Electrical tape
- Wire nuts
- Electrical box (if installing a new switch)
Step-by-Step Installation:
- Turn Off Power: Locate the circuit breaker or fuse controlling the switch’s circuit and turn it off. Use a voltage tester to ensure the power is off at the switch.
- Remove the Old Switch (if applicable): Unscrew the cover plate and remove it. Unscrew the switch from the electrical box and pull it out. Disconnect the wires from the switch by loosening the terminal screws.
- Prepare the Wires: If you are installing a new switch, ensure the electrical box is securely mounted. Strip about 1/2 inch of insulation from the ends of the wires using a wire stripper.
- Connect the New Switch: For a single-pole switch, connect the black (hot) wire to the brass terminal, the white (neutral) wire to the silver terminal (if applicable), and the green or bare (ground) wire to the green terminal. For a three-way switch, follow the manufacturer’s wiring diagram to connect the wires correctly. Ensure the connections are tight and secure.
- Install the Switch: Carefully push the wires back into the electrical box. Screw the switch into place. Attach the cover plate and screw it in securely.
- Restore Power and Test: Turn the power back on at the circuit breaker or fuse box. Use a voltage tester or operate the switch to ensure it is working correctly.
Maintaining Electrical Outlets and Switches
- Regular Inspections: Periodically check outlets and switches for signs of wear, damage, or overheating. Replace any outlets or switches that are cracked, discolored, or not functioning correctly.
- Tighten Connections: Loose connections can cause arcing and overheating. Periodically tighten the terminal screws on outlets and switches.
- Avoid Overloading Circuits: Do not plug too many devices into a single outlet or use multiple high-wattage appliances on the same circuit.
- Use Childproofing Measures: Install outlet covers or tamper-resistant outlets in homes with young children to prevent accidental shocks.
- Keep Outlets and Switches Clean: Dust and debris can accumulate and cause issues. Clean outlets and switches with a dry cloth periodically.
- Upgrade When Necessary: If your home’s electrical system is outdated or unable to handle your electrical load, consider upgrading outlets and switches to meet modern standards and requirements.
Proper installation and maintenance of electrical outlets and switches are essential for ensuring the safety and efficiency of your home’s electrical system. By following the steps outlined in this guide and adhering to safety precautions, homeowners can confidently manage their electrical projects. However, when in doubt or when dealing with complex electrical issues, always consult a licensed electrician. Regular inspections, timely replacements, and adherence to electrical codes will help maintain a safe and functional electrical system in your home.